MyPanther is a skill built for Prairie View A&M University students to answer some university related questions. This document mentions the steps to setup a echo device with MyPanther skill.
Set up Alexa with Echo devices
If you have an Echo device, you can follow these steps and setup your Amazon Alexa account.
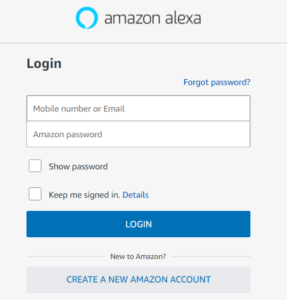
- Go to alexa.amazon.com and ‘create a new Amazon Account’ button as shown below.
 If you already have an Amazon Account, login and see the home page. Click on the Settings menu in left hand side navigation pane and then click on “Set up a new device”. Skip steps 2, 3 and 4, start from step 5. Otherwise follow from next step.
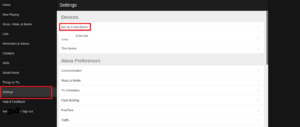
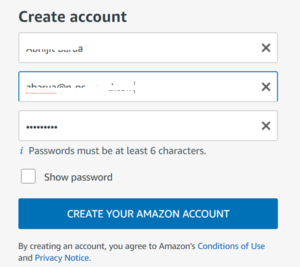
- The following ‘create account window’ will open wherein the user is required to fill up the details and click on ‘Create Your Amazon Account’ button.
- On the next page, the user to ‘select the country you live in’ as United States and then click on the continue button.

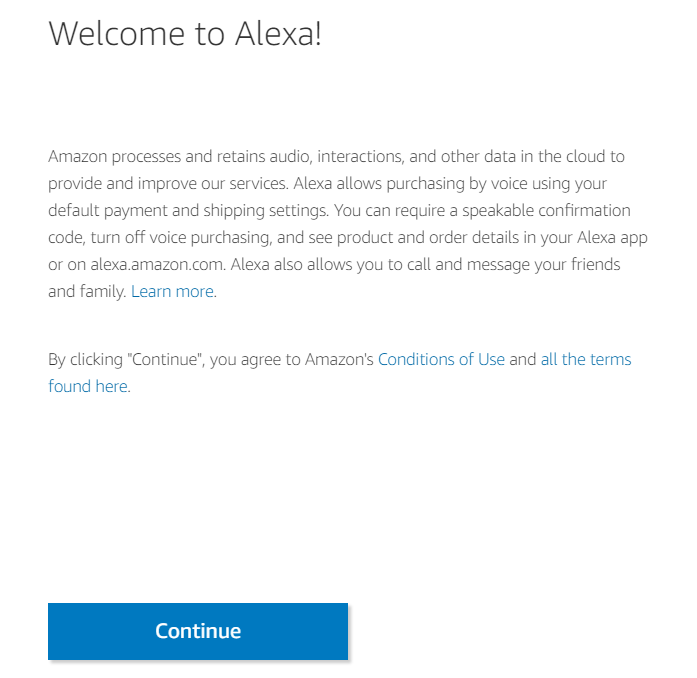
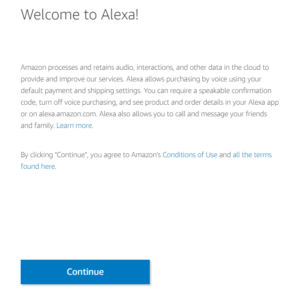
- The user will get a welcome page as follows and then click on continue button.
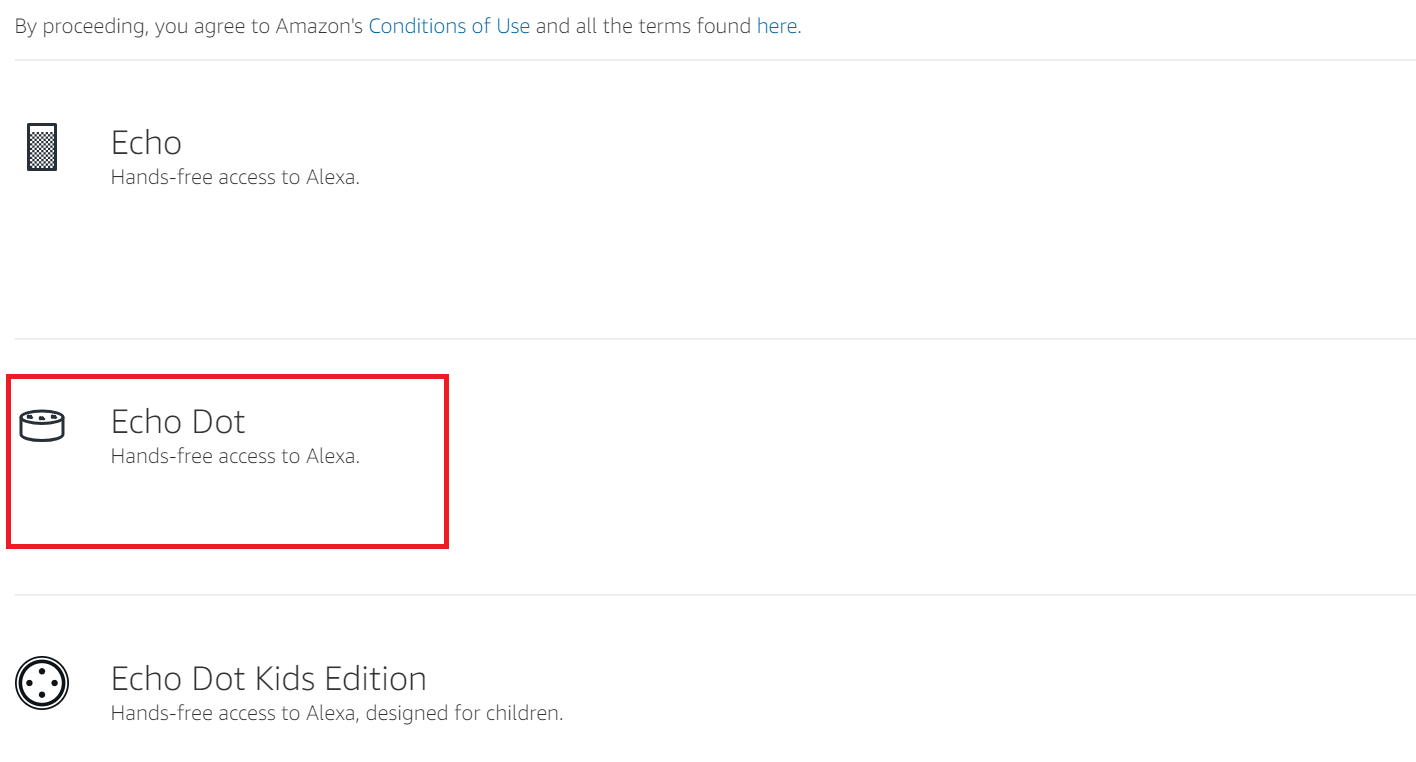
- This will lead to the device selection page as follows. The user is required to select the device type as per the requirement and then click on continue. In the following screenshot ‘Echo Dot’ has been shown as selected.

- This will lead to Echo Dot set up page. The user to click on the continue button.
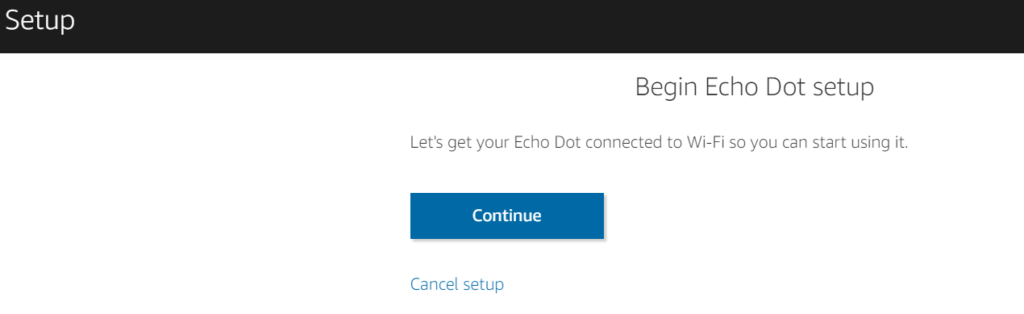
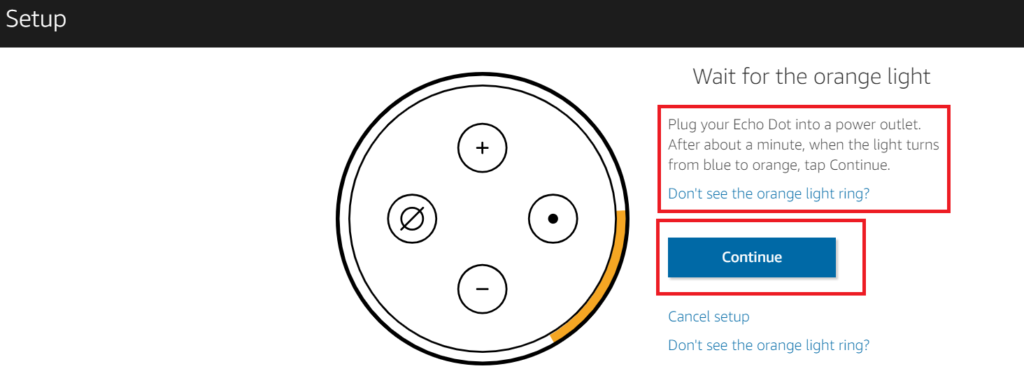
- To begin the set up process the user to follow the instruction as highlighted below and then click on continue button.
- On the next page the user to read the instructions in order to configure the wi-fi settings as under
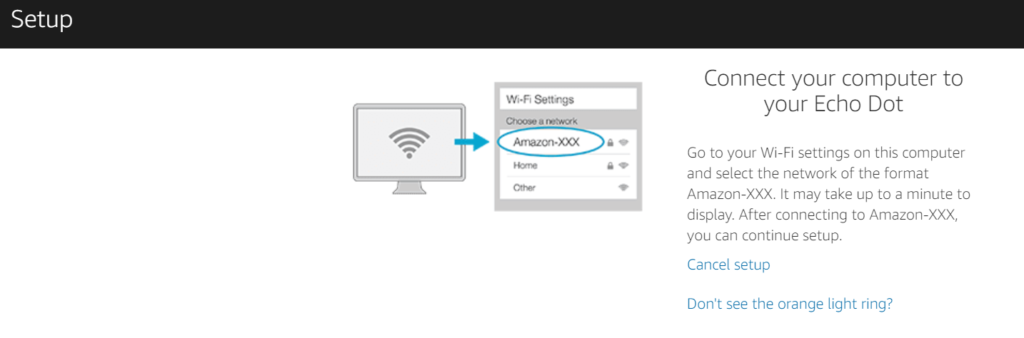
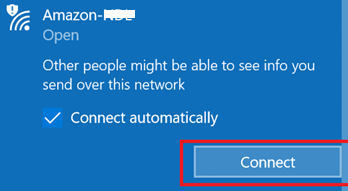
- The user to click on the Wi-Fi panel of own computer and select Amazon – XXX from the Wi-Fi list as shown below and then click on connect button.

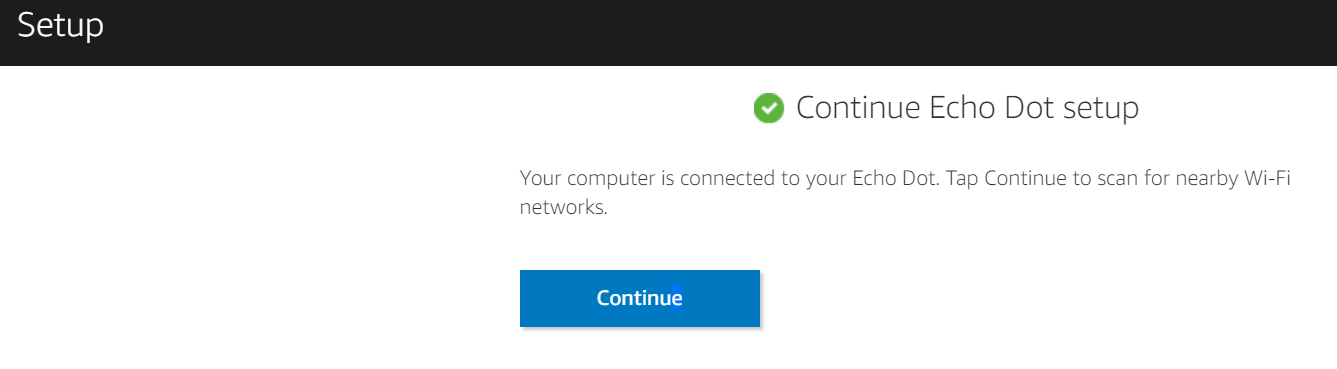
- To continue with the Echo Dot setup, the user to click on the continue button as shown below.

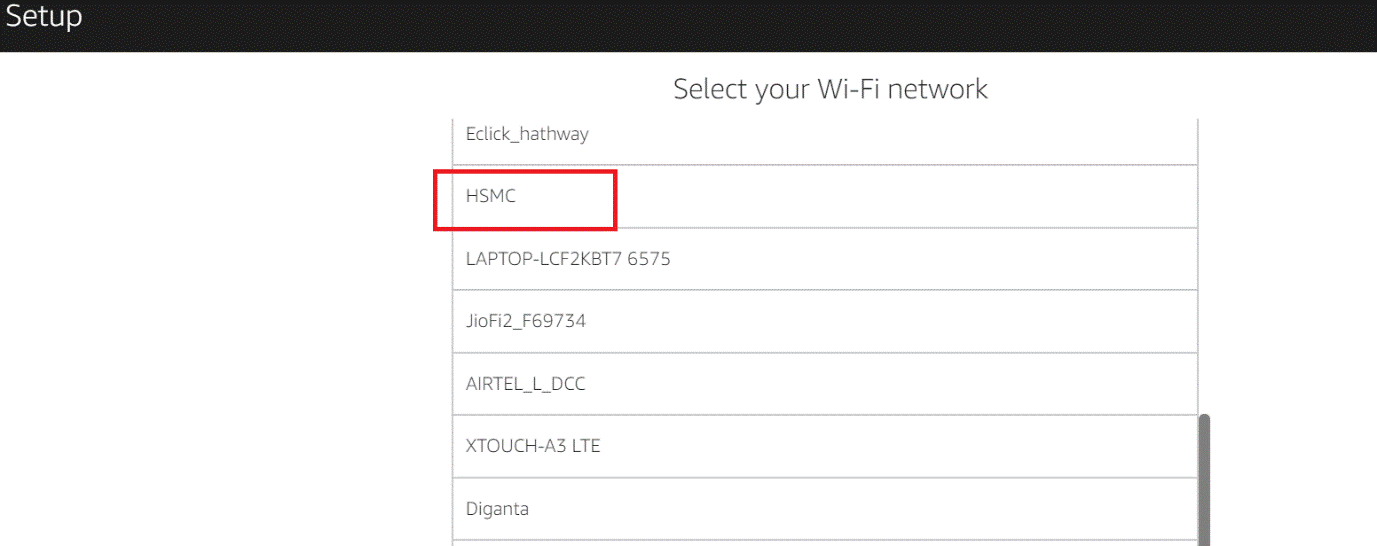
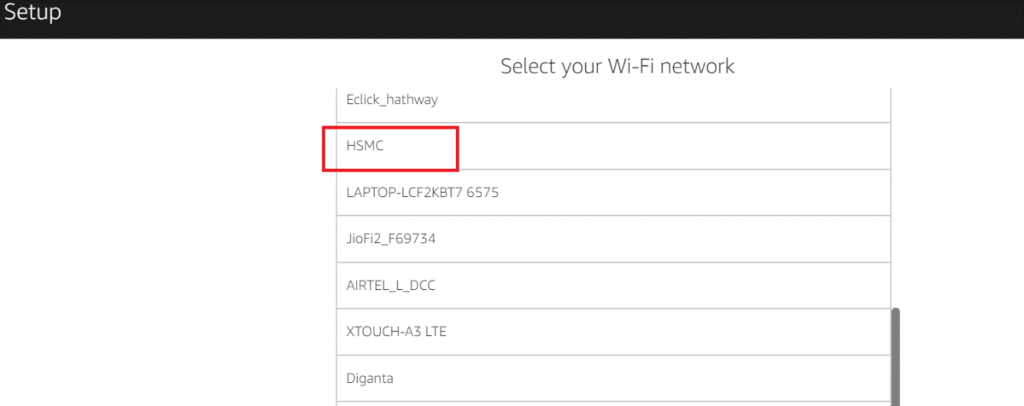
- The user to select the WIFI from the list as per the following screenshot.
- The system will initiate linking of the Echo Dot device as shown below.

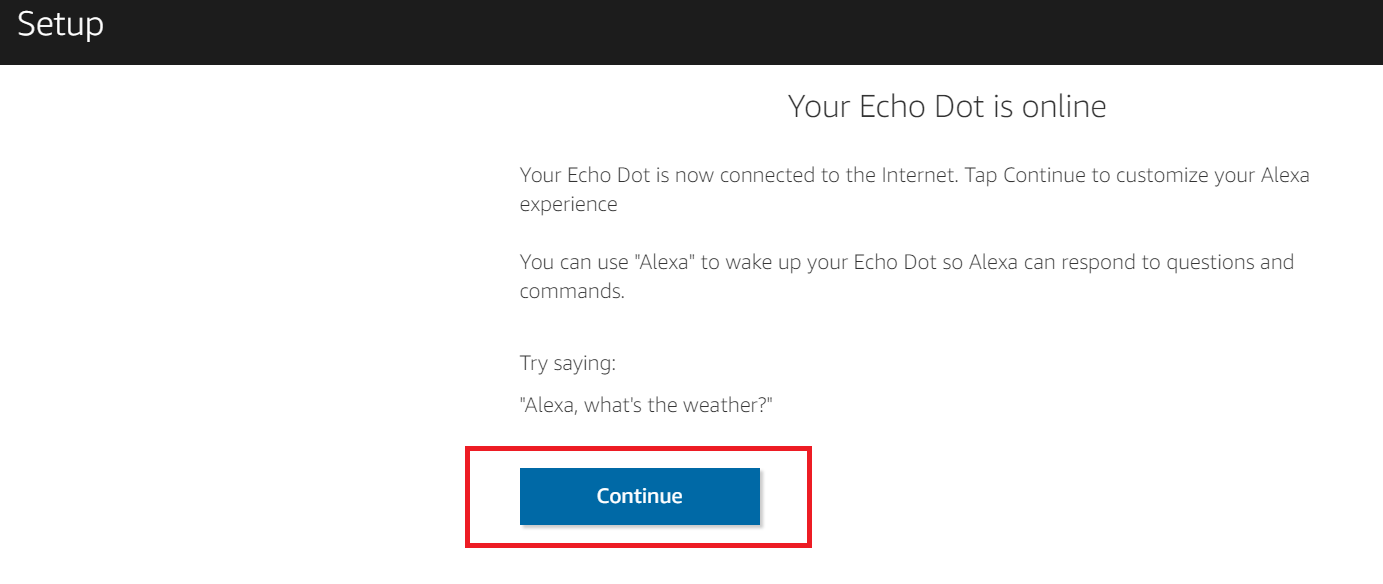
- Upon completion of the linking the user will get the following window and then click on the continue button.

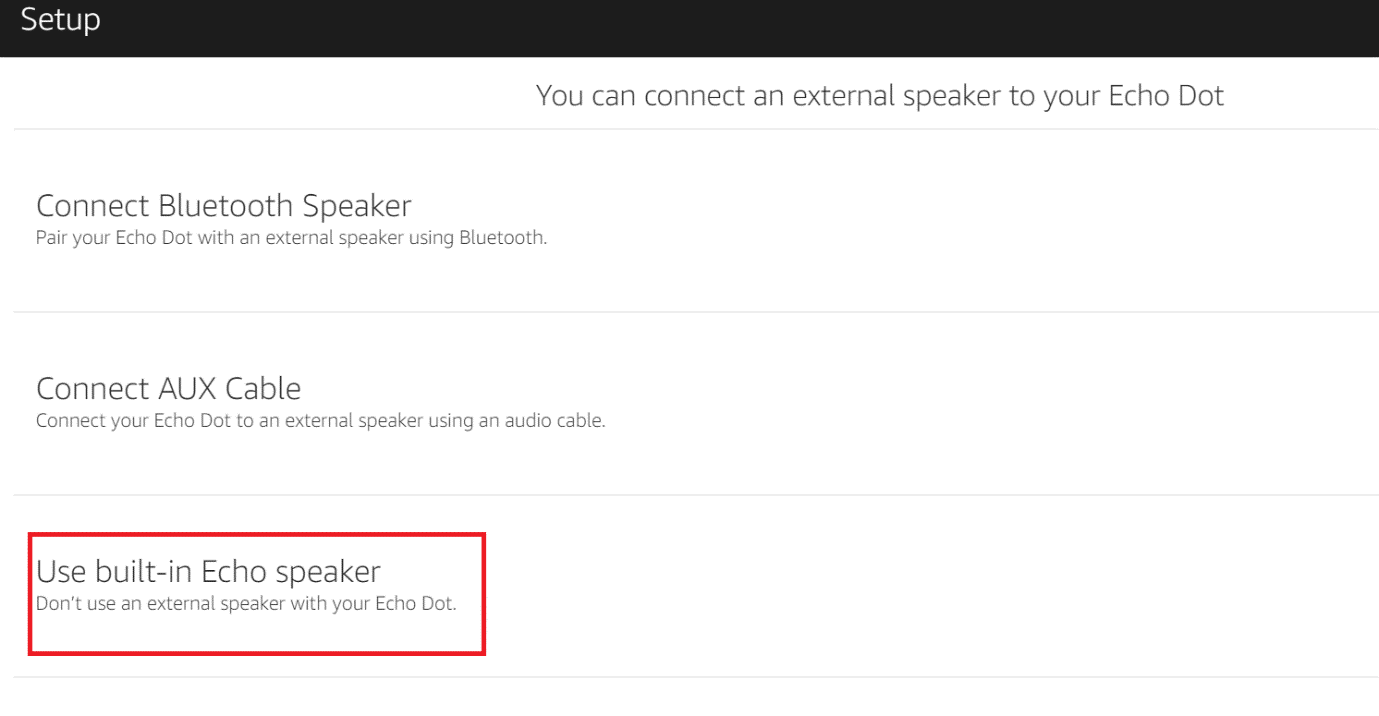
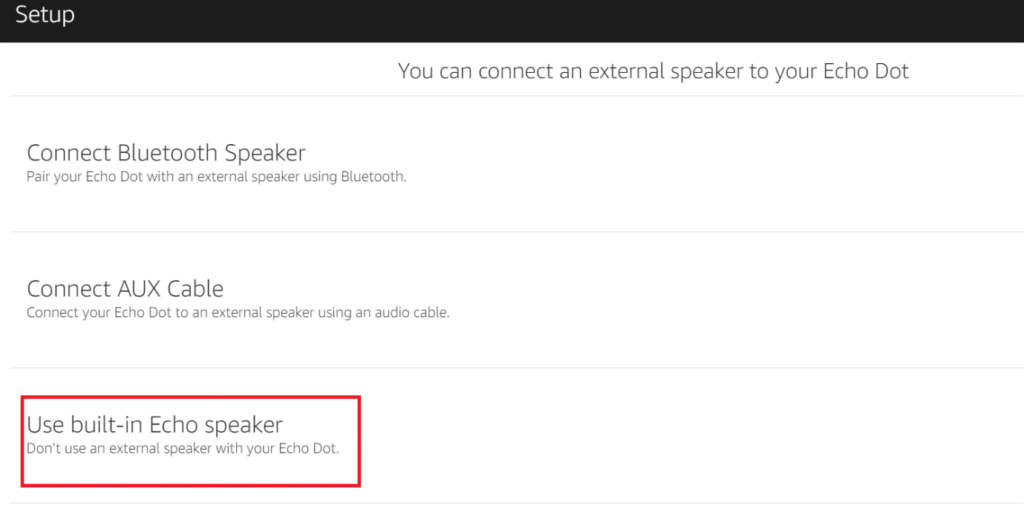
- On the next screen the user needs to select the option ‘use built in echo speaker’ as under
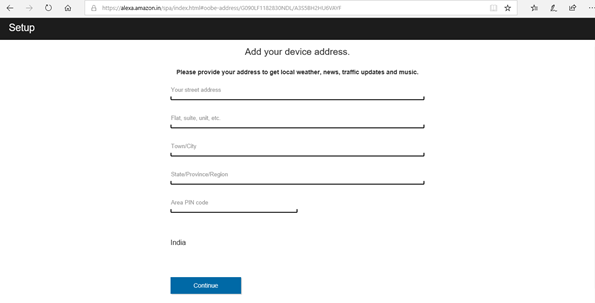
- On the next page the user is required to fill up the address details as shown here under and click on continue button.
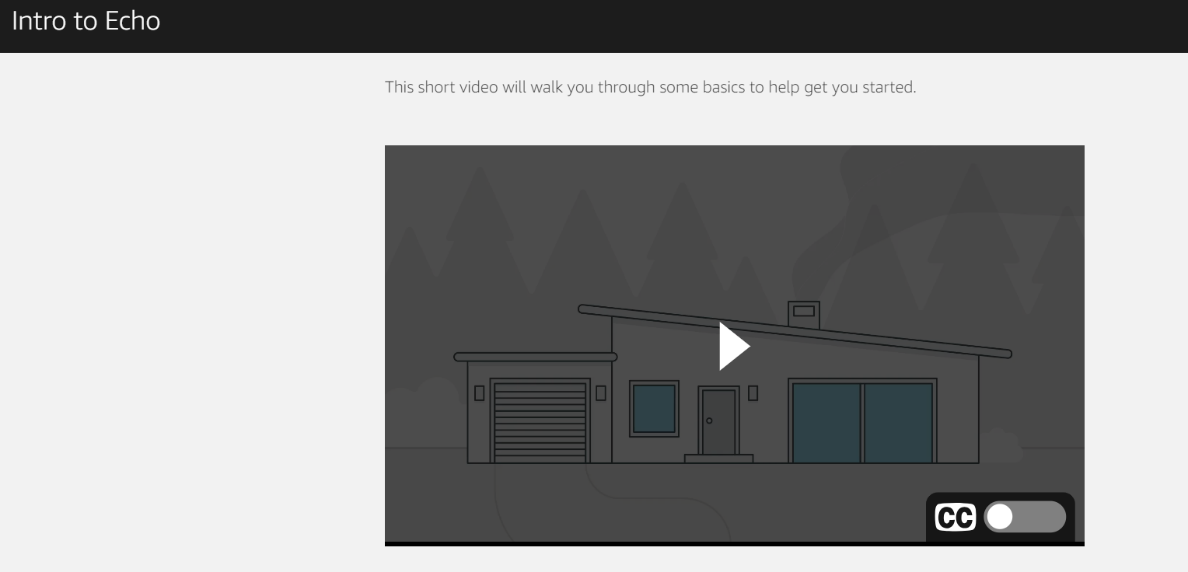
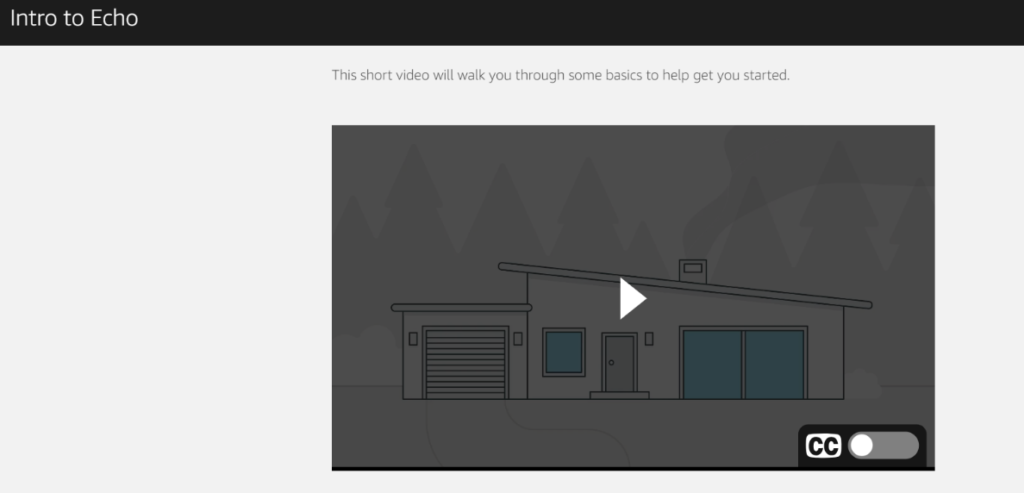
- On filling up the address, an introductory video related to Alexa Skill will be played.
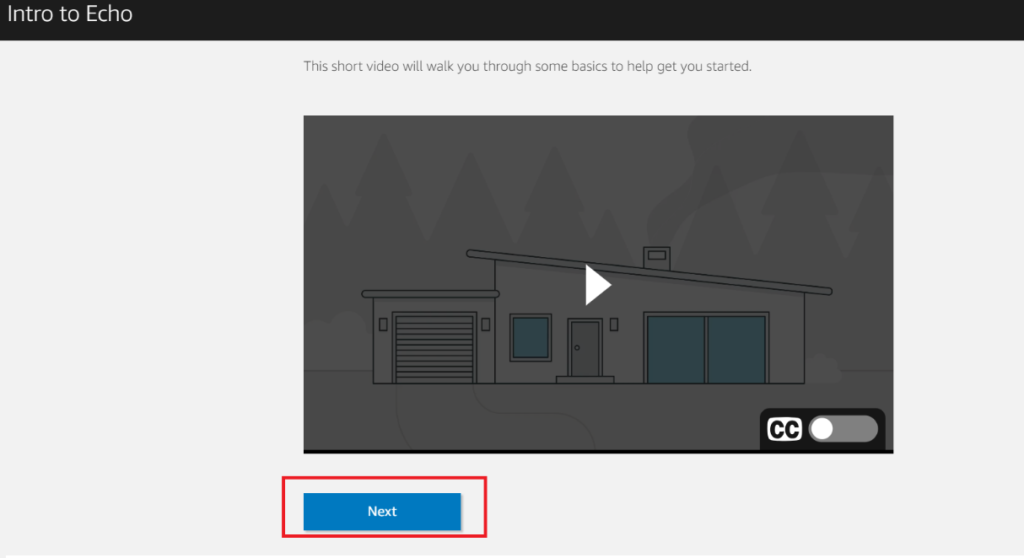
- Once the video is played, ‘Next’ button will appear which the user needs to click.
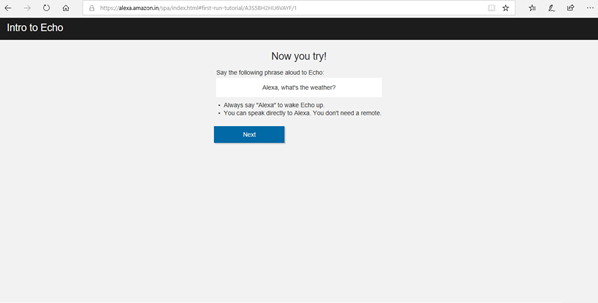
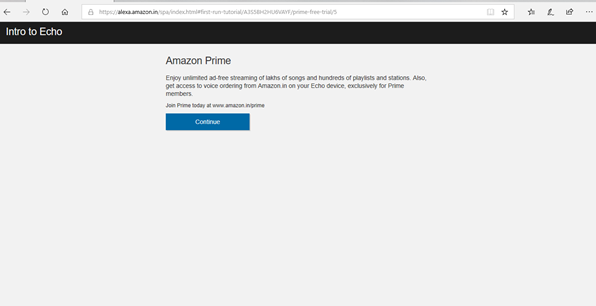
- On the next screen as shown below the user needs to go through the recommendations and then click on the ‘Next’ button.
-The screenshot below is the continuation of the point 2.17, the user needs to click on the next button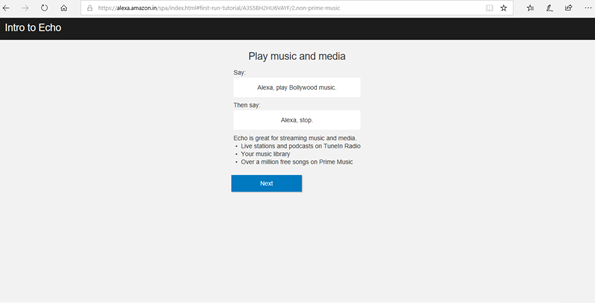
- In continuation of the process the user needs to click on the ‘Continue’ button
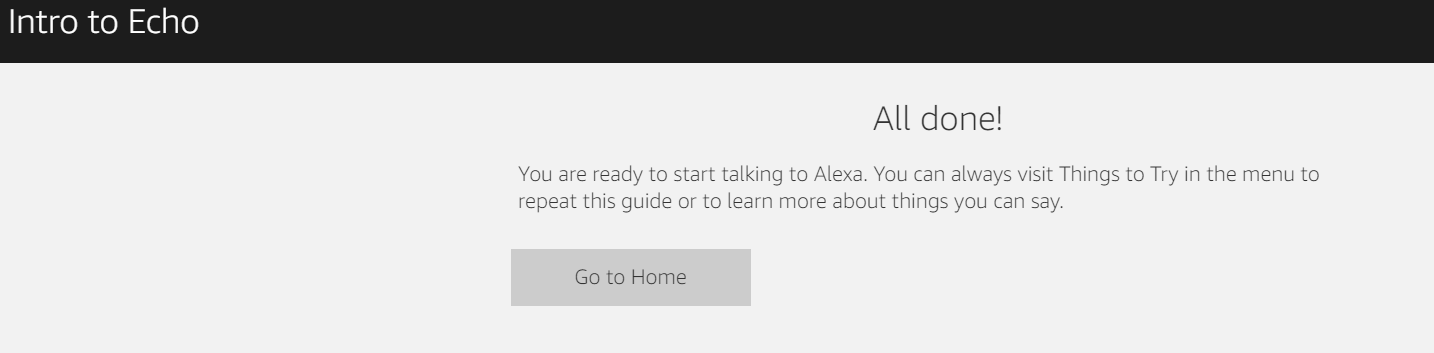
- This will lead to the process completion page as shown below and then click on ‘Go to home’ button
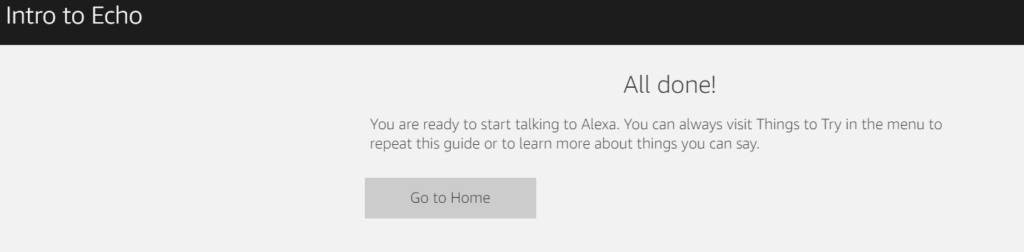
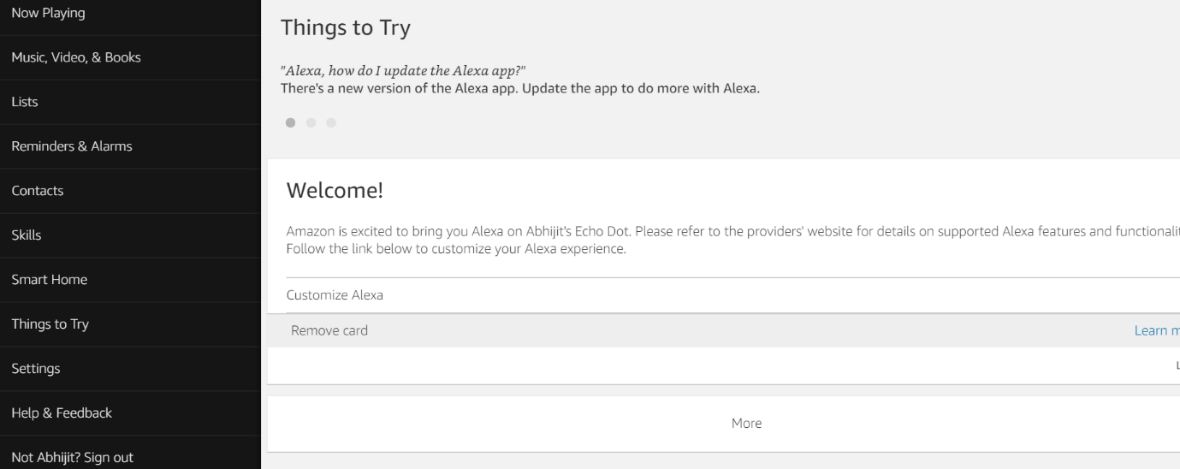
- Clicking on the ‘go to home’ button the user will get the following page
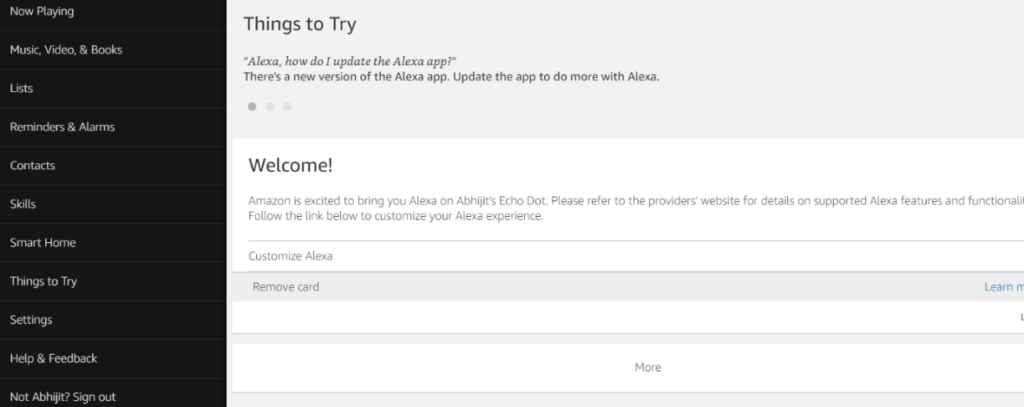
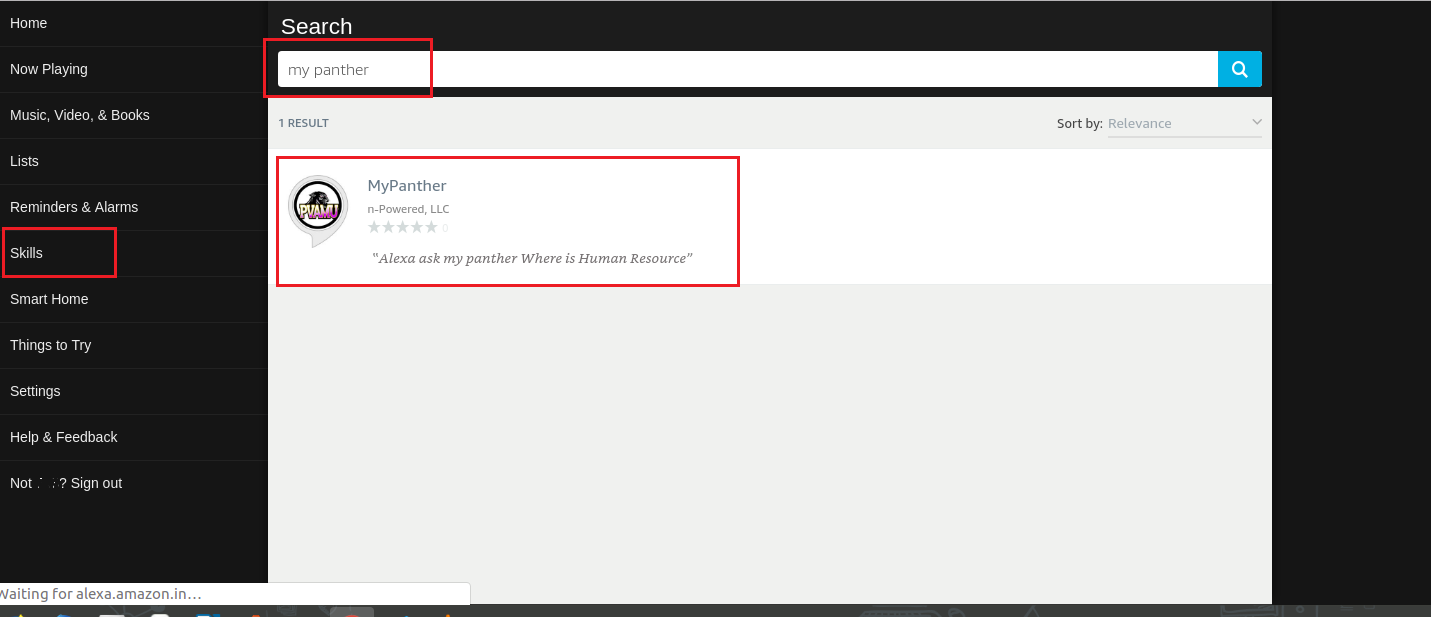
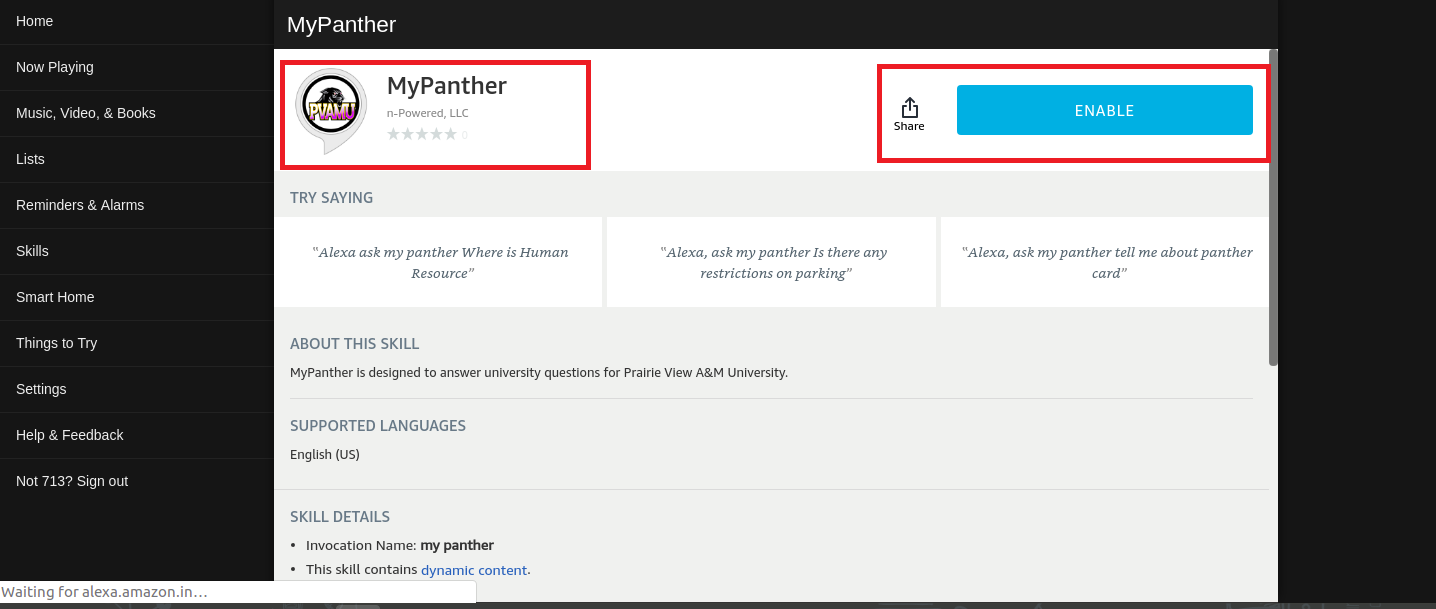
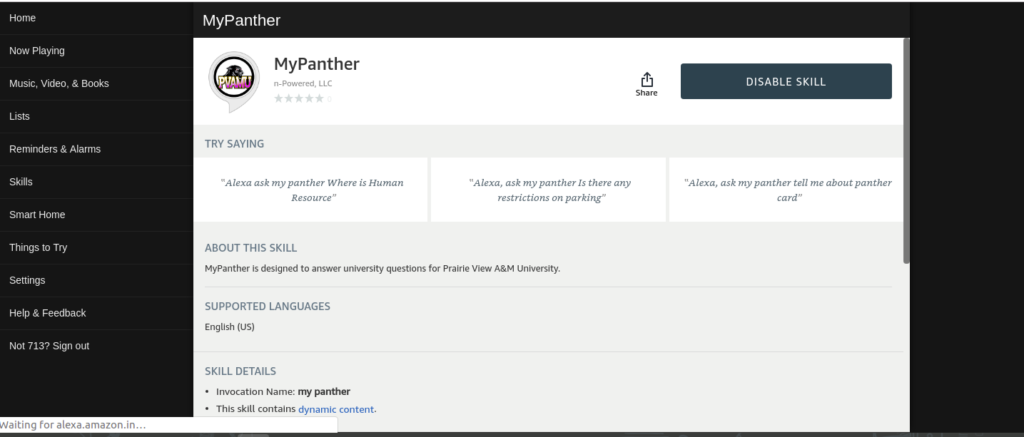
- Click Skills in the left hand side navigation, search for my panther and the skill will appear as shown below:

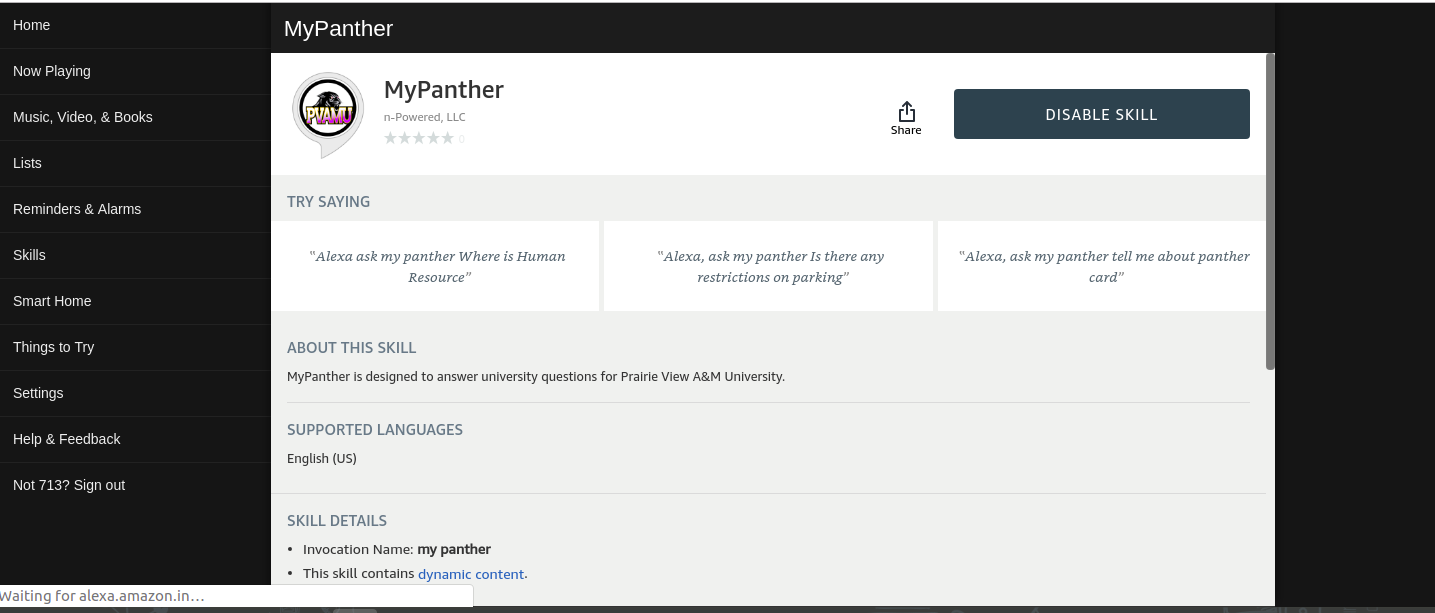
- Click MyPanther skill and enable it. Once enabled you can disable any time as shown below.

Special Note: How to check utterance history in your Amazon account
Sometimes Alexa can’t interpret the utterances accurately. Say for example, Alexa may interpret the word “football” as “football” or the “move-in” as “moving”. As a result, Alexa may respond completely unexpected manner. In order to understand these discrepancies, it’s better to check History section of Amazon Alexa app. History section contain following key items
- Interpreted speech
- Written response from Alexa
- Name of the skill which handled the request
Perform following steps in order to access history
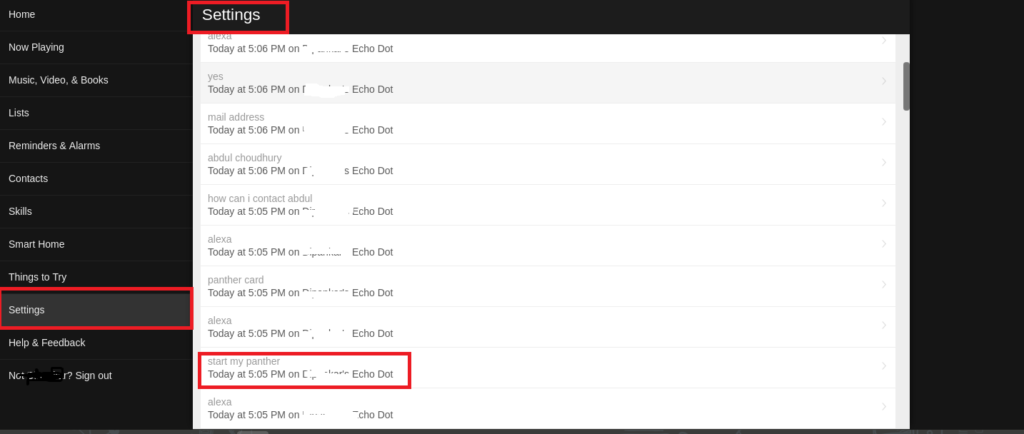
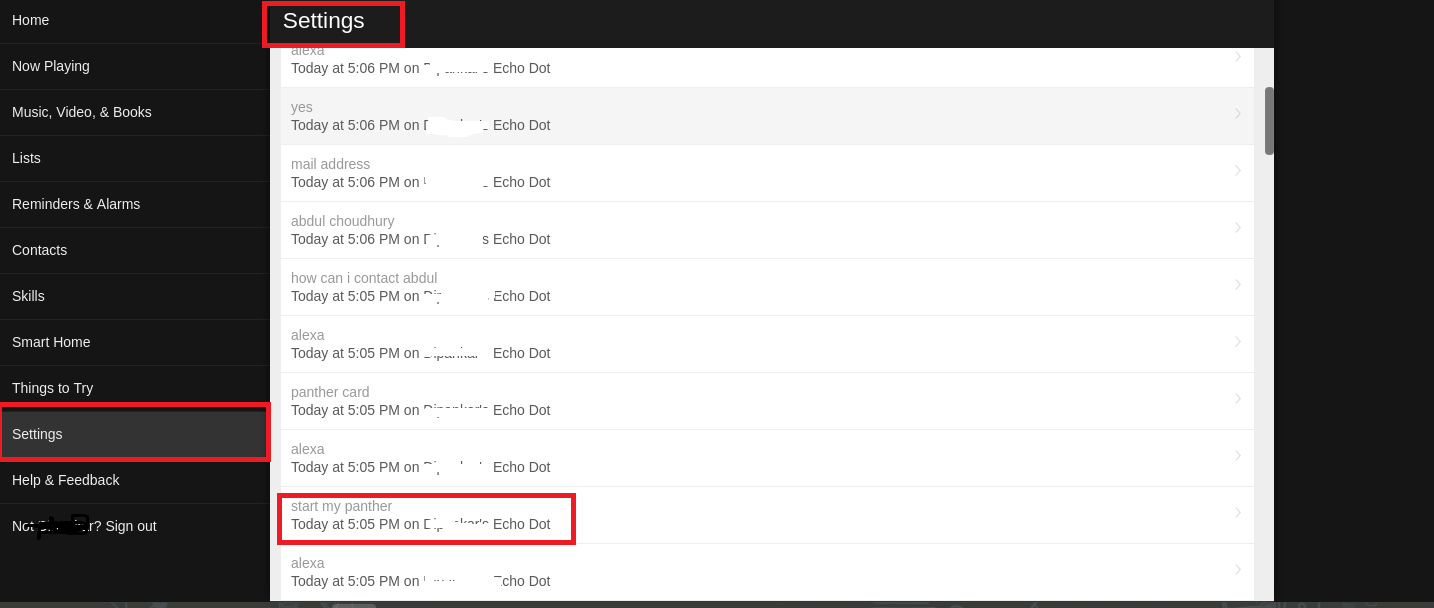
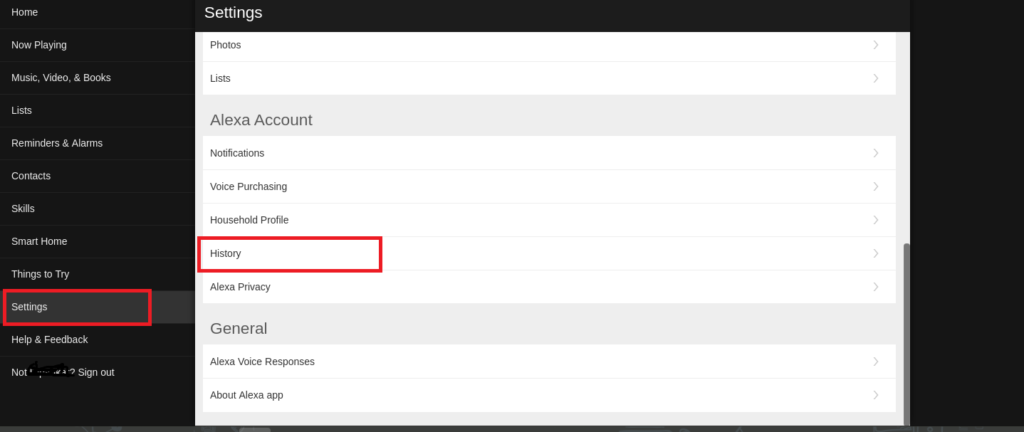
1. Login to alexa.amazon.com. Click Settings on the left-hand side navigation pane. Click History
2.You will see the utterance history as shown below.